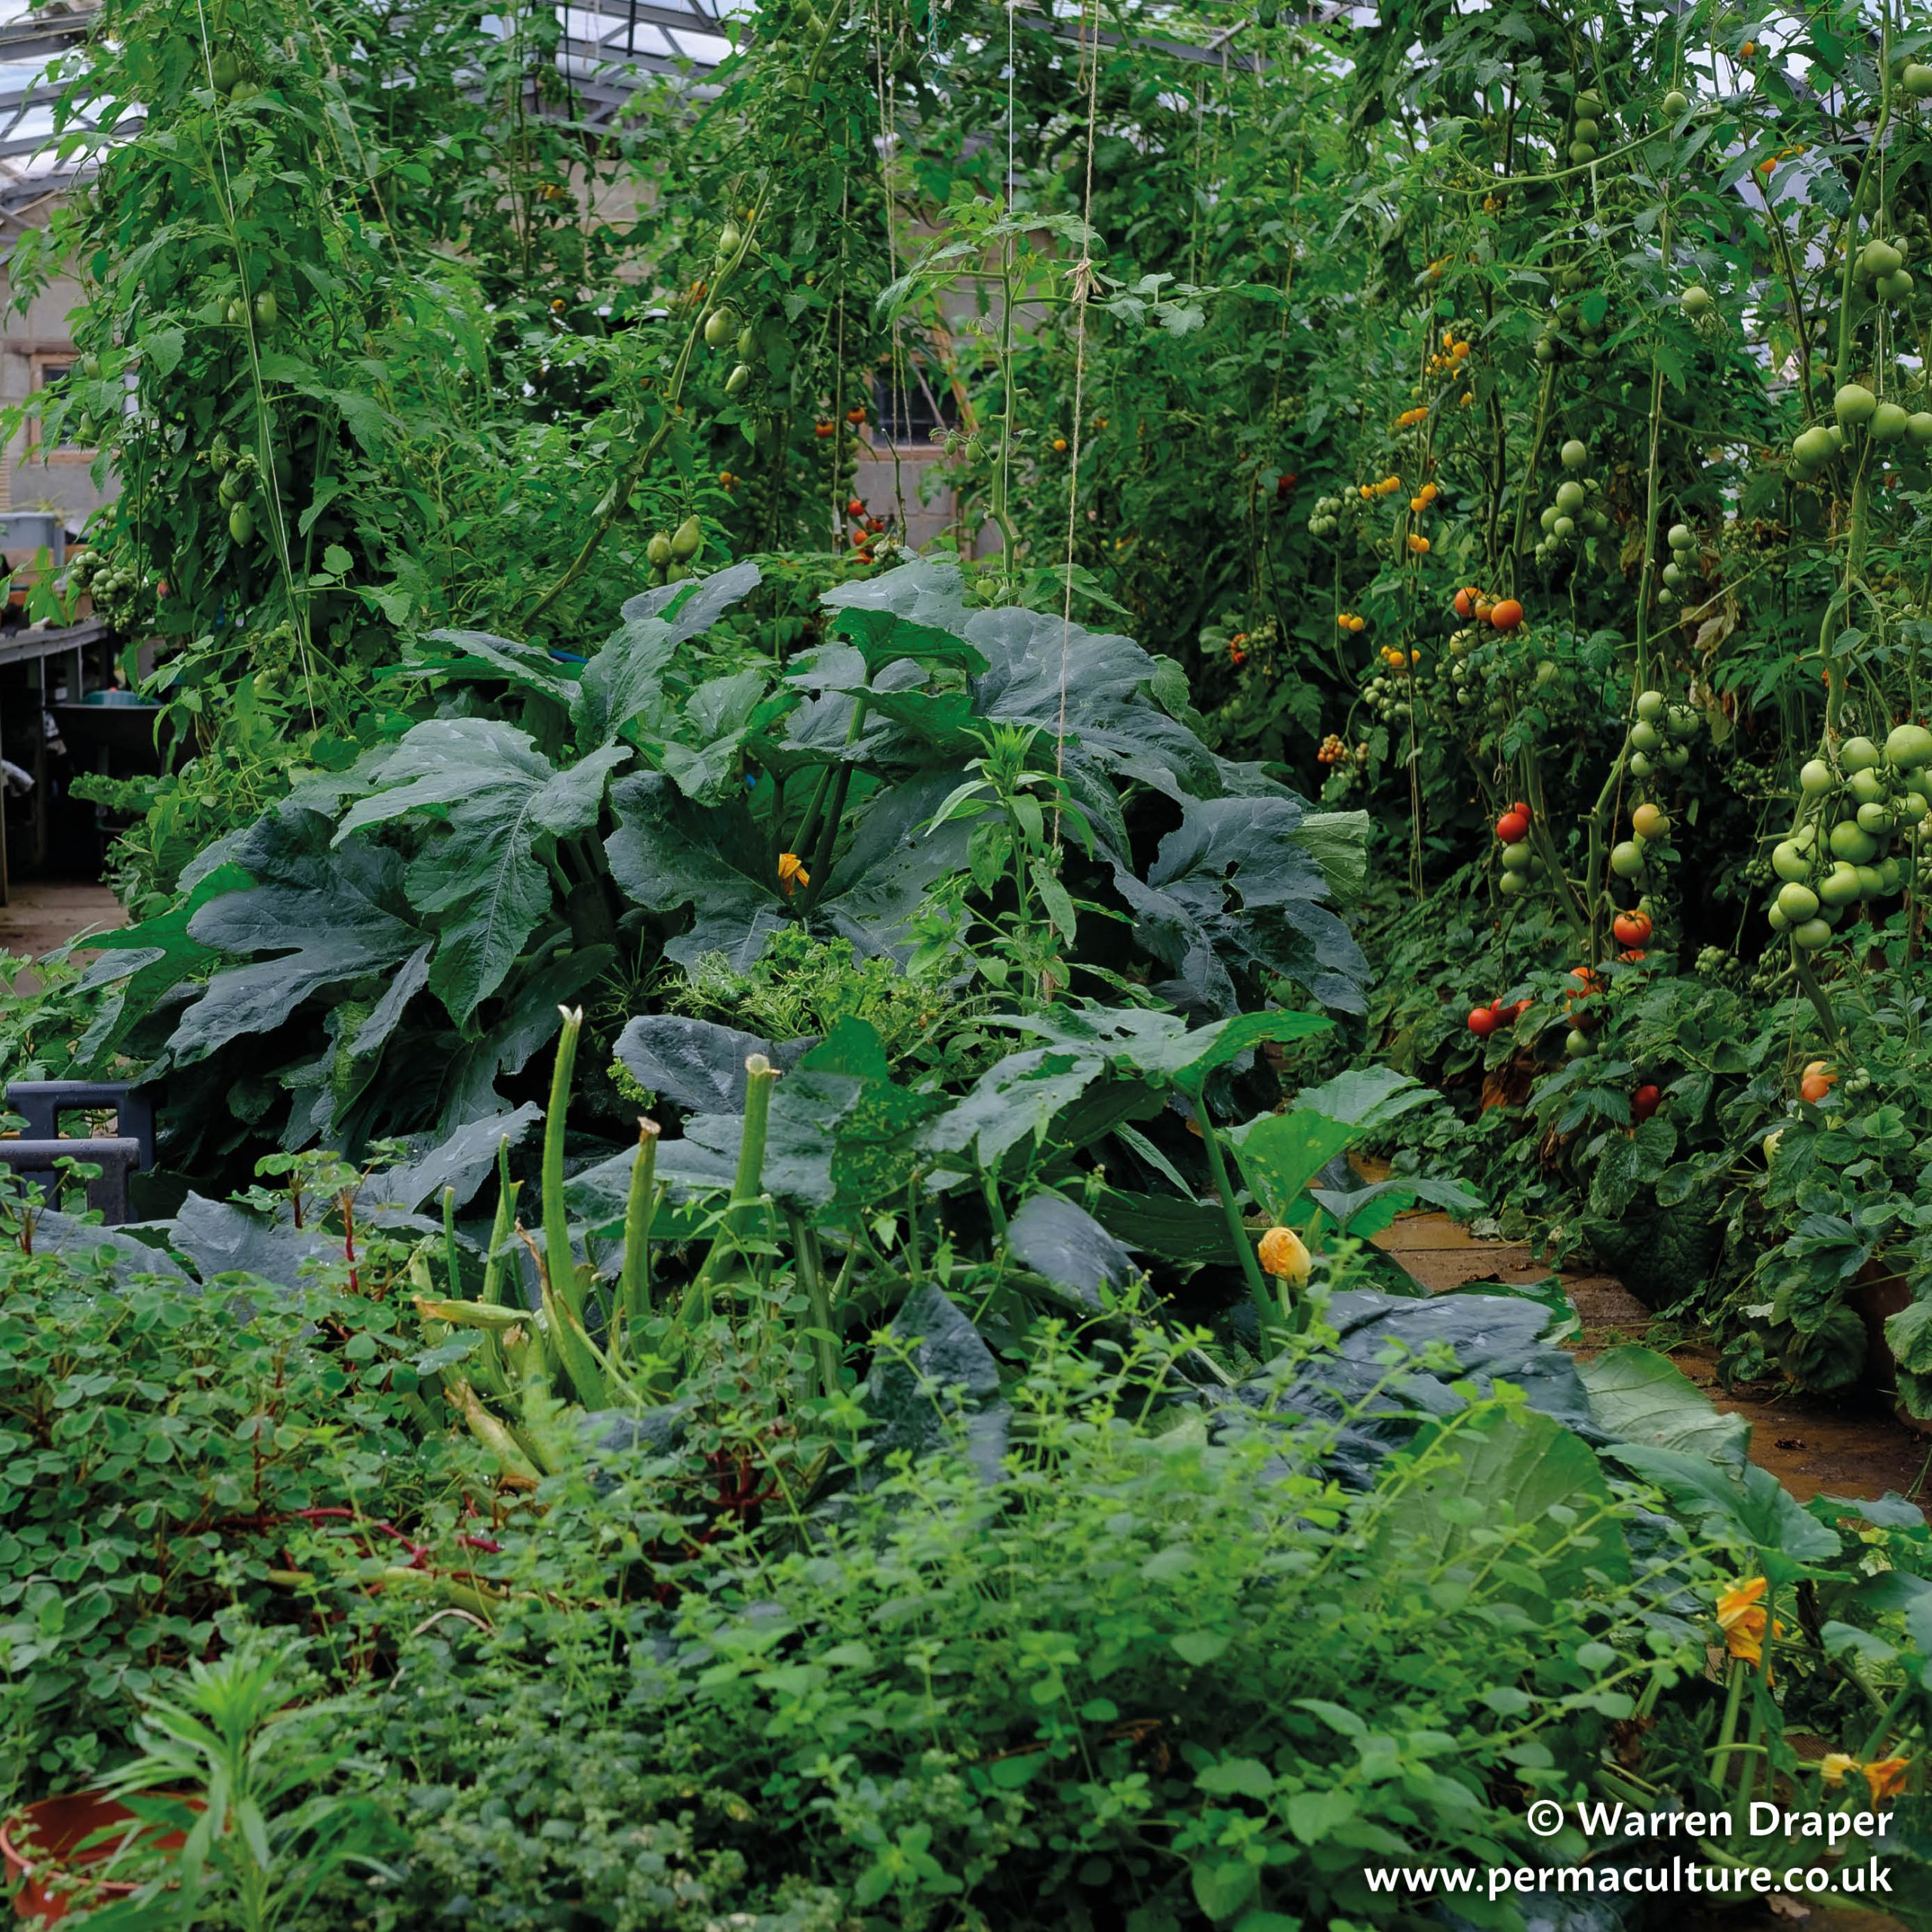
Growing food in containers can be a challenge, but the self watering container can really help keep plants topped up with water. In hot weather some containers may even need watering twice a day. This is time consuming and, of course, impossible if you’re busy elsewhere. Then there are weekends away and holidays: how do you prevent your plants from drying out?
Part of the solution – and an important innovation in container growing – are self-watering containers that include a water reservoir. These are increasingly available commercially (Earthbox is a particularly well designed model) and there are many DIY designs on the web if you want to make your own. Reservoirs not only make watering easier, but also, by providing a constant water supply, reduce the stress on the plant. This leads to higher yields, particularly of fruiting crops like runner beans, tomatoes and courgettes. Manufacturers claim you can get up to double the yield. My experience suggests that these claims are probably about right (I grew over 5kg/13lbs of runner beans in one container, for example).
But water reservoirs still need filling up, pretty much every day in summer: a growing tomato plant on a warm or windy day will drink a gallon of water or more.
So how do we keep the reservoirs topped up while we’re away? An elegant and effective solution is to link the water reservoirs of several containers together with plumbing, and then keep them topped up from a water butt. The water flow into the reservoirs can be regulated by a ball valve in a control tank that works exactly like the cistern of a toilet. When the water level in the reservoirs drops, the ball valve opens, automatically filling the reservoirs.
The idea behind this system was adapted from the free, downloadable Guide to Setting Up Your Own Edible Rooftop Garden which is published by the wonderful Rooftop Garden Project in Montreal, Canada. Here I summarise how to build an adapted version. If you decide to build your own I recommend that you also study their guide as it goes into more detail.
You will need a few specialist tools and some practical DIY skills to build this. But anyone who’s happy to tackle simple carpentry or plumbing jobs at home should have a crack. The investment of time and effort will repay itself in time saved watering and higher yields.
1. Construct the wooden boxes. Preserve the wood with Osmo oil or raw linseed oil, and line the inside with plastic.
2. Cut the top off the plastic containers so that each is 15-20cm (6-8in) deep. These will form your reservoirs.
3. Drill a 1cm (0.4in) diameter hole about 12cm (4.75in) above the bottom of each plastic reservoir. This is an overflow hole and prevents overwatering of your plants.
4. Drill lots of small holes in the 110mm (4in) drainage pipe and then cut it into 15cm (6in) lengths (you want 20-30 holes in each length). These bits of pipe will sit, like feet, in the water of the reservoir. The water will flow through the holes and wick up into the main part of the container. The number of ‘feet’ you need depends on the container’s surface area: they should cover 5-15% of the total surface area. More and your soil will get too wet, less and it will not be wet enough.
5. Cut some corrugated plastic card to fit snugly inside the box. This will sit on top of the reservoir and separate the soil from the water. Drill small holes in the plastic to allow air to circulate into the soil.
6. Using a hole saw, drill 110mm (4in) holes in the corrugated plastic, one hole for each foot. Keep the round ‘waste’ cut-outs and attach one to each ‘foot’ as a base.
7. Attach the ‘feet’ to the underneath of the corrugated plastic with three or four ring ties. Put this into the wooden box with the feet sitting in the plastic reservoir.
8. You can now add a 5-8cm (2-3in) diameter PVC pipe to act as a fill-tube. Simply drill a hole in the false floor and insert one end into the reservoir, leaving the other end long enough to protrude from the soil. You’ve now got a fully functional container with a water reservoir.
9. Or you can plumb several reservoirs together and link them up to a control tank with a ball cock. You can find the pipes and connectors you need from a plumbing store or a supplier of garden watering systems. See page 52 of the Guide to Setting Up Your Own Edible Rooftop Garden for full instructions at https://shop.permaculture.co.uk/guide-to-setting-up-your-own-edible-rooftop-garden.html
The principles behind this system have significant potential for adapting creatively. If you decide to experiment, and make your own self-watering containers, I’d love to hear from you.
Mark is founder of Vertical Veg which inspires and supports food growing in tiny spaces. Visit www.verticalveg.com for container growing advice, seasonal tips and online training courses.
This article originally appeared in PM76. All subscriptions, print and digital, come with FREE digital access to 30+ years of archive, all fully searchable.
More on self-watering options: Clay pot irrigation – read HERE
Ferrocement Water Tanks
by Felicity Lee and Daniel Colman
San Francisco Graywater Design Manual for Outdoor Irrigation
by
The Permaculture Magazine team have been publishing books and magazines since 1992.
Their YouTube channel www.youtube.com/PermacultureMagazine shares a range of videos from no dig organic gardening and food forests, to regenerative farming and keeping bees.
